Thursday 8 November 2012

Die machine

Most of the progress in the past month has been advancing the mechanical systems:  plumbing, heating and electrical.

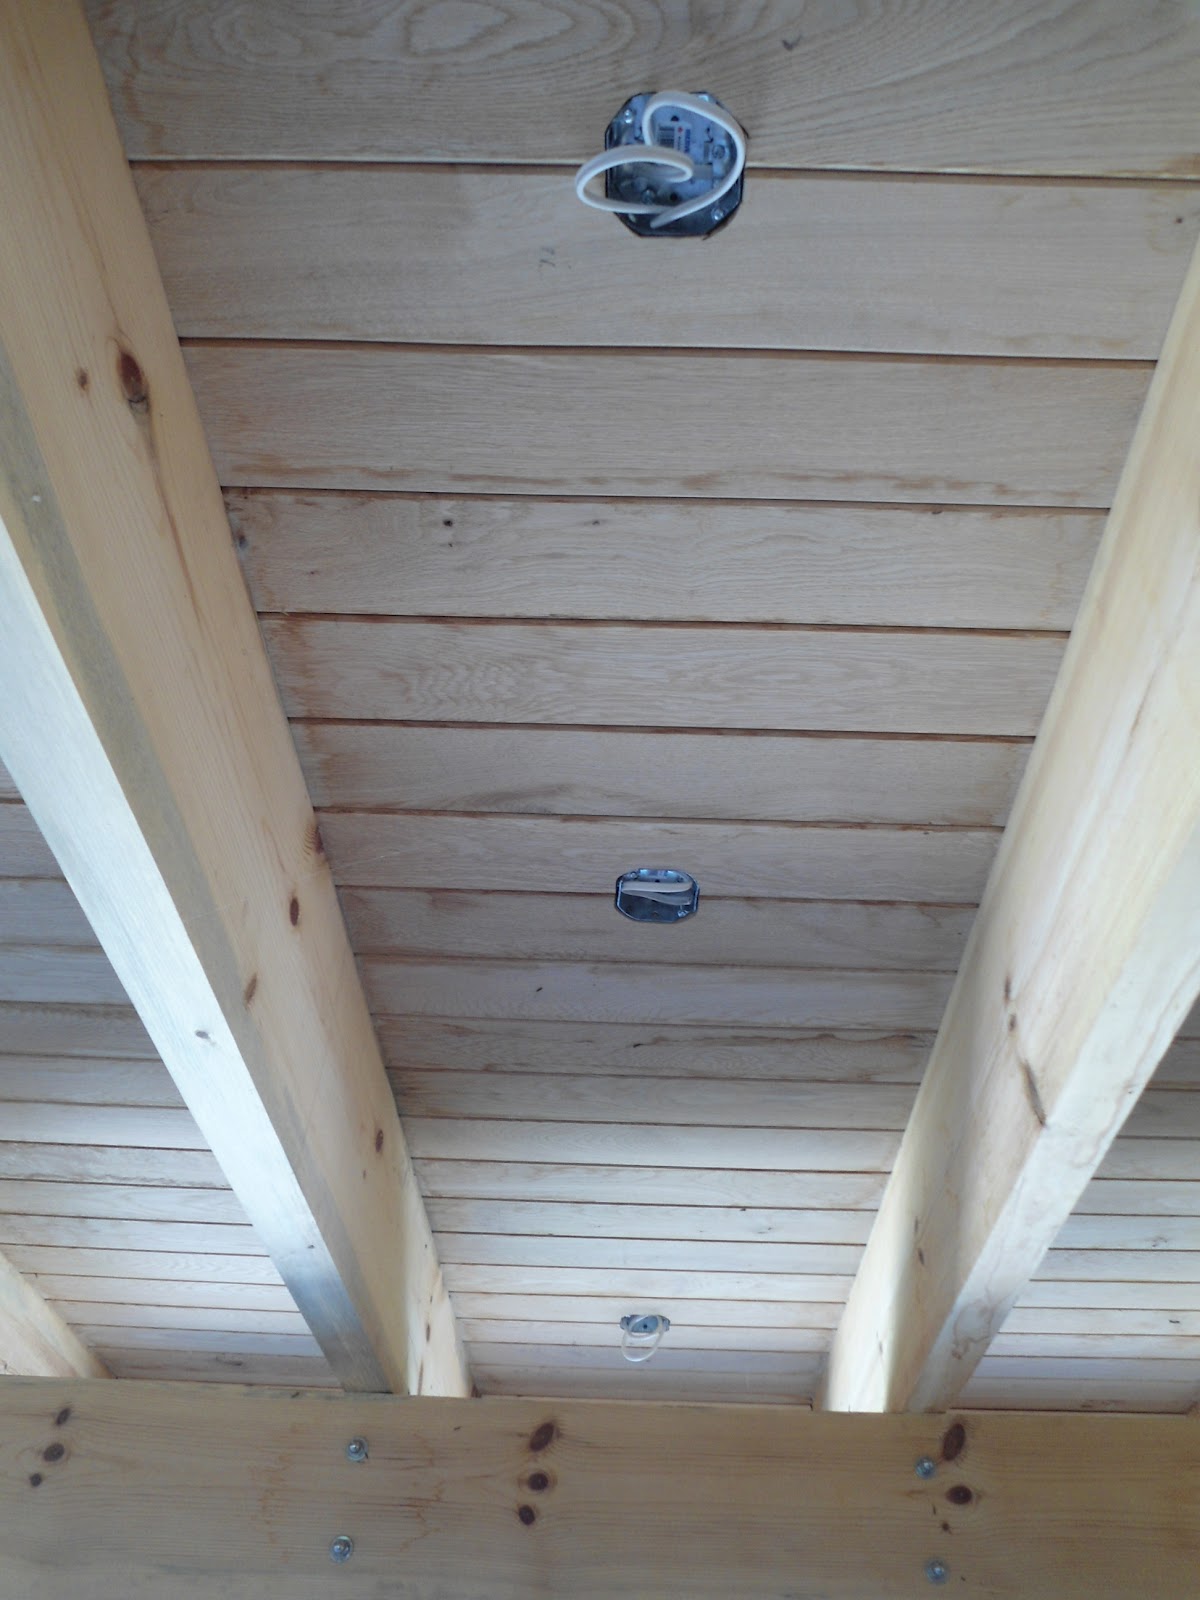
Temporary light fixtures in the ceiling.

Now we can work around the clock.

The crawlspace is filling up.  The heavy black pipes drain the plumbing.  Thin white tubes carry water.  Squared silver ducting feeds the heating system.  And the thinner round silver ducts vent the building through an HRV (heat recovery ventilation unit).

Woven pipes and ducts.

Now that the municipal water system has been turned off for the winter, the pump on the right is drawing our water stored nine feet underground in a concrete cistern where the frost can't get at it.  We have hot water now too from the tank on the left.

This electric furnace is our primary heat source.  There is also a backup baseboard heater in the crawlspace. 
This HRV draws fresh air into the building and pushes the stale air out.  During this circulation it transfers heat from the outgoing air to the colder air coming in.  It also effects changes to the humidity in the building when the relative humidity is drier outside. 


The HRV is drawing air from these intakes in the walls of the laundry room, bathroom and library.


This pipe houses the main electrical line that was trenched under the ground outside.  Here it comes into the crawlspace and runs straight up to the main electrical panel.  It may not look like much, but it is a big deal to us because when it was first installed it was attached to the outside of the building where a two meter length of ugly grey pipe was visible.  To relocate it, I dug under the footing so the electrician could reroute it. 

Here is the same pipe running up to the panel whereas before it came through the wall to the back of the panel.  The little grey box is the security system control.  It will monitor motion detectors and door openings but it will also signal temperature drops in the building so we don't get damage if the heat cuts out while we are not there.
Sunsets are now much further south.  That's okay because with heat, lights, hot water and plumbing, we are ready for winter.

Monday 1 October 2012

Winter is coming

The screen porch nears completion.
Decking is filling in on the leeward side of the porch, protected from the wind off the lake.  The last stainless steel post is installed under the beam that supports the screen porch roof.


The post is the same as the ones inside except for the saddle on the top and...
... the off-center base plate that is bolted to the floor beam.

Insulation in the main building is complete.  We used R22 Rocksul between the studs and rigid foam over the door and window headers.

Carefully caulked all the seams between the ceiling, rafters and walls.  Laid the vapour barrier into the wet caulking and taped the seams to ensure an air tight seal.  Staples through the poly are set in a dab of caulking.

Heating is being installed.  These registers will be set into the built in bench under the library window.  The electric furnace, ducting and HRV system are being installed in the crawlspace.

Tidy job on the electrical panel and the security control box.

Exterior walls are being strapped in preparation for the cement board and corten steel panels. 

The strapping is the foundation of a rain screen that suspends the panels off the house wrap. A layer of bitumen tape under all of the strapping ensures a water tight seal wherever fasteners penetrate.

Tuesday 4 September 2012

Beach oil

Spent a day applying penetrating oil to the white oak in the screen porch.  This is what the raw wood looked like...

... and after oiling it looked darker, browner and more heavily grained.

The screen porch rafters are now topped with purlins.  Temporary plywood and tarps protect the progress from the weather.  Soon the plywood will be replaced with oak boards like the ones used inside and then roof shingles can be applied.  The next step is to finish the floor decking and fill in the screen porch walls.

To act as a passenger door, the left third of the screen porch door opens independently from the other two sections.


When the door is stacked to one side, the living room is opened up to the outdoors via the screen porch.  It slides like a machine.  It was installed by a technician from the Kolbe factory in Wisconsin.

Sam is in the haus

Sam's first day in his new haus. 

The screen porch door installation completes the building and keeps him from escaping.

Testing the strength of the sill.  Chipmunks and chickadees taunt.

Not too fat to hide?

Finally, a Sam-sized litter box.

Beached and at ease in his new digs.

Monday 20 August 2012

Powered up

Most of the electrical wiring has been installed.  The meter is on a post 30 feet from the road.  The power lines run 100 feet underground to the cottage.  This avoids overhead lines and a mast on the roof.

Plugs and switches in the library and bedroom.  Every bedroom gets a hard wired smoke detector, seen here near the ceiling.

Looking down to the crawlspace through a trapdoor located in the laundry room floor.  The sump cover is seen here.  We have not needed a sump pump because the overflow pipe trenched 60 feet outside has been carrying away all of the rain water.  During several recent cloud bursts we watched rivers of water run down the drive-way that swirled against the foundation and dumped into the weeping tile.  None of it came into the crawlspace because the overflow pipe effectively drained it all away.

The crawlspace will be a useful storage area.  The raised wood platform is 20 x 8 feet.  The little white box to the left is a dehumidifier.  It is working hard to get rid of the moisture in the sand that remains from the snow in winter and the rain that seeped in before the roof was finished.  It is winning the battle as you can see from the dry white peaks in the sand.
Water pump that will draw water from the cistern in winter.


The northeast deck between the main cottage and the guest cottage is finished.  These white oak planks are a full inch thick and 5 1/2 inches wide.

Carefully cut around the oak tree post.  The deck is fastened using screws designed for composite decking.  When they are driven in they bore small holes eliminating the need to pre-drill pilot holes.  The torx heads are also very small and diminutive in appearance.

Monday 13 August 2012

Windows

Windows and doors arrived from Kolbe in Wisconsin.  They were supplied and installed by GNT Distributors of Winnipeg.  The glass is opaque because they are covered with a protective plastic film inside and out.

Livingroom.  Each pane is approximately 5x6 feet.  We hope the decals of hawk silhouettes will keep birds from barnstorming.

Master bedroom.

Guest bedroom,

Door on the deck.

Guest cottage door and workshop solid door.  Blueskin completes the seal to the house wrap.


The dining room window is the largest unit.

Closeup of the white oak frame of the dining room window.

Same window, now finished with a clear penetrating oil.

Monday 30 July 2012

July building progress

Worked steadily through July.


The roof on the main cottage and guest cottage/workshop is complete.  The cedar fascia is capped by a heavy metal flashing. The roof is an 8 inch thick sandwich:  on the rafters is white oak decking, wiring, poly vapour barrier, 3 inches of ridgid foam insulation, 1/2 inch plywood layer, another 3 inches of insulation, 5/8 t/g plywood painted primer, and a self-adhesive 2 ply system of roofing designed for low slope roofs (waterproof membrane covered with a black capsheet).

Most of the exterior is clad with house wrap and all of the openings are waterproofed in preparation for the windows and doors.  The outdoor decking will be completed when the doors are installed next week. The woodstove stack is also installed.

The lumber for the screen porch was planed.  These are the 2 by 7 white oaks plates and studs.

 22 foot 2 by 10 white oak rafters are installed carefully cut with birdmouths to fit the 3 by 12 beam.


View from the living room window.

All of the wiring was installed in the ceiling before the roof was insulated, sheathed and shingled.  These two boxes are for the lights over the kitchen island.

View from the guest cottage bedroom.

Exposed framing in the overhang above the deck and door.

The overhang above the workshop door.


This is how to lift a beam weighing 400 pounds onto posts 16 feet tall.  Attached temporary steps (the triangular plywood shown) on the posts so that is could be lifted a manageable sixteen inches at a time.  The beam carries 18 screen porch rafters.  The porch walls will be infilled after the roof is sufficiently installed.


Plumbing is roughed in with running water and a functioning toilet.